
Deep cleaning soapstone is the process of removing built-up oils, grime, and stains using gentle techniques that respect its naturally non-porous, chemically inert surface. Soapstone meets the ASTM C615 non-porosity standard, which means liquids sit on top rather than soaking in. That quality makes cleaning soapstone effectively straightforward, but it also means the wrong products can strip the mineral oil finish you have worked hard to build. This guide covers the best soapstone cleaning methods, the tools you need, and the mistakes that cost homeowners the most time and money.
What tools do you need to deep clean soapstone?
The right supplies make deep cleaning soapstone surfaces faster and safer. Gather everything before you start so you are not improvising mid-process.
Core supplies:
- Mild dish soap (pH-neutral, fragrance-free preferred)
- Warm water
- Soft microfiber cloths or non-scratch sponges
- Baking soda
- Food-grade mineral oil
- Spray bottle
Optional supplies for tougher jobs:
- 220–400 grit sandpaper (wet/dry type)
- Denatured alcohol (for grease spots before oiling)
- Hydrogen peroxide (for poultice mixtures on stubborn stains)
- Plastic wrap and painter’s tape (for poultice application)
| Supply | Primary use | Precaution |
|---|---|---|
| Mild dish soap | Daily and deep wash | Avoid antibacterial formulas with harsh additives |
| Baking soda | Poultice base for stains | Rinse thoroughly to prevent residue |
| Food-grade mineral oil | Patina enhancement after cleaning | Buff off excess or surface turns tacky |
| 220–400 grit sandpaper | Smoothing light scratches | Always use with water lubrication |
| Denatured alcohol | Degreasing before oiling | Use in a ventilated area only |
Pro Tip: Buy food-grade mineral oil at a pharmacy rather than a hardware store. Hardware-grade mineral oil may contain additives that are not safe for food-contact surfaces like kitchen countertops.
How to deep clean soapstone step by step
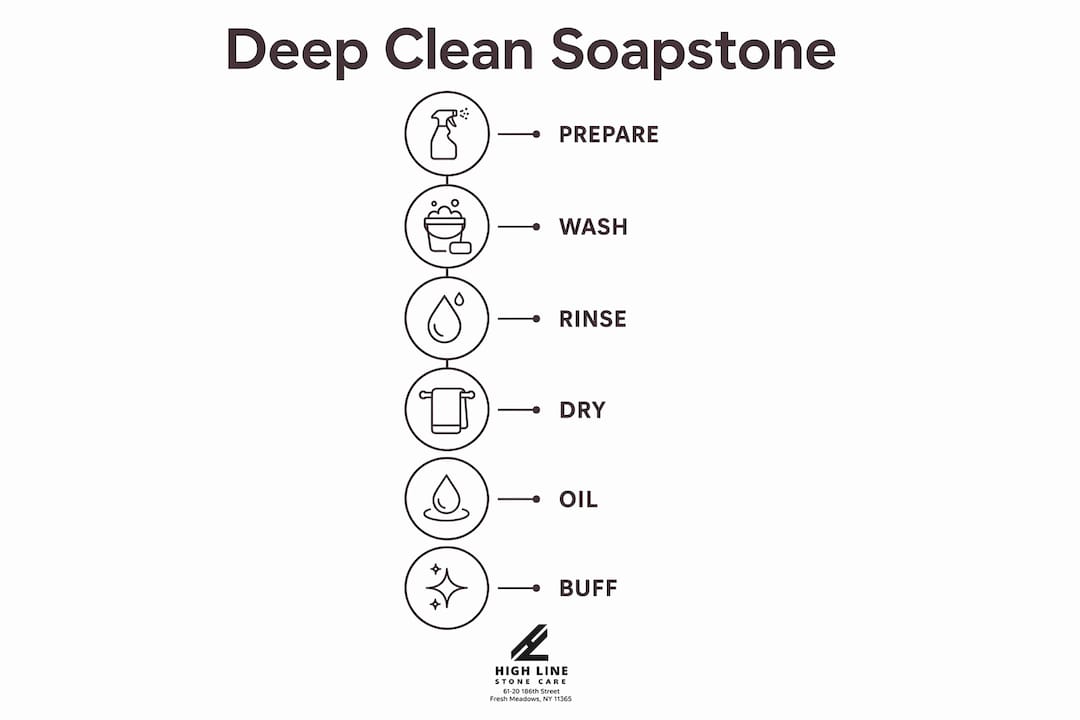
A thorough deep clean goes beyond a quick wipe. The goal is to remove layered grime, address stains, and prepare the surface for a fresh coat of mineral oil. Deep cleaning every 7–14 days is the standard for high-traffic kitchen surfaces to prevent dullness and uneven patina buildup.
Step 1: General surface wash
- Mix a few drops of mild dish soap into warm water in a spray bottle.
- Spray the entire surface and wipe with a soft microfiber cloth using circular motions.
- Pay extra attention to areas near the sink, stove, and cutting zones where grease accumulates.
- Rinse the surface thoroughly with clean water to remove all soap residue.
- Dry immediately with a clean, dry cloth. Never let water pool and air-dry, as this leaves mineral deposits.
Step 2: Treat stains with a poultice
Stubborn marks require more than soap and water. Poultice methods using baking soda mixed with hydrogen peroxide (for oil-based stains) or plain water (for water-based stains) are the most effective approach. The poultice draws the stain out of the surface layer rather than just masking it.
- Mix baking soda with enough liquid to form a thick paste.
- Spread a generous layer over the stain, about a quarter-inch thick.
- Cover with plastic wrap and tape the edges to slow drying.
- Leave in place for up to 12 hours, then remove and rinse clean.
- Repeat if the stain has lightened but not fully lifted.
Step 3: Dry, buff, and re-oil
Once the surface is clean and fully dry, apply a thin coat of food-grade mineral oil with a soft cloth. Applying mineral oil after cleaning enhances the stone’s natural veining and restores the darkened patina that deep cleaning can temporarily lighten. Buff off any excess oil after 10–15 minutes. Leaving too much oil on the surface creates a tacky, uneven finish.
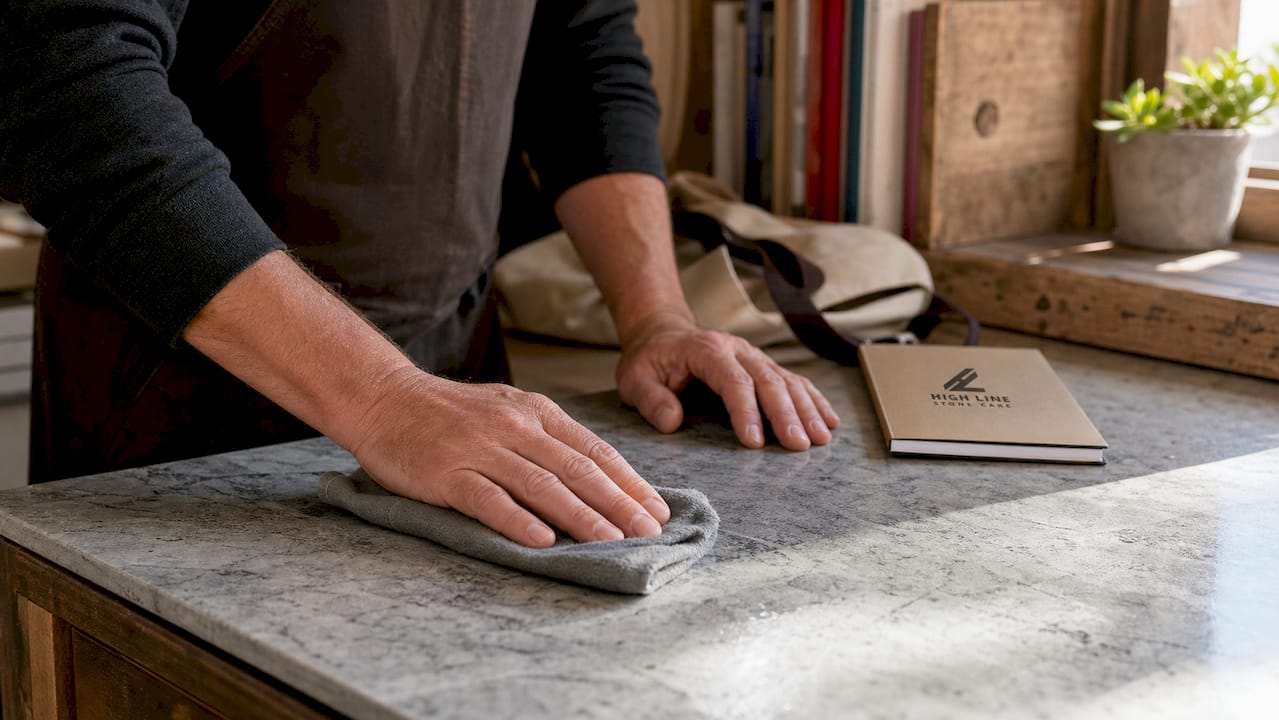
Pro Tip: If the surface looks blotchy after oiling, you applied too much. Wipe it back with a clean dry cloth and let the stone absorb what it needs naturally over the next few hours.
How do you fix scratches and restore soapstone’s patina?
Scratches on soapstone are not a cleaning problem. They are a refinishing problem. No amount of scrubbing removes a scratch. The correct approach is light sanding followed by mineral oil application, which blends the scratch back into the surrounding surface.
How to sand and restore:
- Wet the scratched area with water. This lubricates the sandpaper and prevents dust.
- Sand gently with 220 grit sandpaper in the direction of the stone’s natural grain.
- Progress to 400 grit for a smoother finish if needed.
- Wipe away all residue with a damp cloth and let the area dry completely.
- Apply food-grade mineral oil to the sanded area and blend outward to the surrounding surface.
- Buff lightly and allow the oil to settle for at least 30 minutes before use.
Soapstone develops what stone professionals call a living finish. This means the surface naturally darkens, develops character, and shows minor variations over time. That process is a feature, not a flaw. Homeowners who accept this reality spend far less time maintaining their stone and far more time enjoying it.
Pro Tip: After sanding, the repaired area may look lighter than the rest of the surface. Apply mineral oil and give it 24 hours before judging the result. The color almost always evens out as the oil settles.
You can find more guidance on natural stone patina and how to work with it rather than against it on the Highlinestonecare resource library.
What should you never use on soapstone?
The most damaging mistakes in soapstone care come from using the wrong products. Harsh chemicals like bleach, ammonia, and acidic cleaners do not etch the stone itself, but they strip the mineral oil finish completely. That forces more frequent re-oiling and creates an uneven, patchy appearance.
Substances and practices to avoid:
- Bleach or bleach-based sprays
- Ammonia-based cleaners (including many glass cleaners)
- Vinegar or any acidic solution
- Abrasive scrubbing pads or steel wool
- Commercial stone sealers designed for marble or granite
- Steam cleaners used directly on the surface
The sealer issue deserves special attention. Standard stone sealers cannot penetrate soapstone because the surface is too dense. Applying them creates a blotchy, tacky film that is difficult to remove and looks nothing like the natural finish. Mineral oil is the only recommended surface treatment, and it works by adsorbing onto the surface layer rather than soaking in. This is a key distinction that many homeowners miss when reading general stone care advice.
“Soapstone does not need sealing. Applying a conventional stone sealer to soapstone creates an uneven, sticky finish that traps grime and defeats the purpose of the treatment entirely. Mineral oil is cosmetic, not protective, and that is exactly what soapstone needs.”
Reviewing common stone care mistakes before starting any cleaning routine can save you from costly errors that are hard to reverse.
Key Takeaways
Deep cleaning soapstone requires gentle, pH-neutral products, a consistent oiling routine, and an understanding that scratches need sanding, not scrubbing.
| Point | Details |
|---|---|
| Clean every 7–14 days | High-traffic surfaces need regular deep cleaning to prevent dullness and uneven patina. |
| Use poultice for stains | Baking soda mixed with water or hydrogen peroxide lifts stubborn stains in up to 12 hours. |
| Mineral oil restores patina | Apply food-grade mineral oil after every deep clean and buff off excess within 15 minutes. |
| Sand scratches, do not scrub | Use 220–400 grit sandpaper with water lubrication, then re-oil to blend the repaired area. |
| Avoid sealers and harsh chemicals | Bleach, ammonia, vinegar, and commercial stone sealers all damage soapstone’s mineral oil finish. |
What years of working with soapstone have taught me
Most homeowners come to soapstone expecting it to behave like marble or granite. It does not. The stone is softer, more forgiving in some ways, and more demanding in others. The biggest mistake I see is over-cleaning: people scrubbing with products that strip the oil finish and then wondering why the surface looks dull and patchy a week later.
The second most common mistake is chasing a factory-new look. Soapstone ages. It darkens. It picks up minor scratches from daily use. That is not damage. That is the stone doing exactly what it is supposed to do. Homeowners who accept the living finish concept early on end up with surfaces that look richer and more beautiful after five years than they did on installation day.
My practical advice: keep the routine simple. Warm water and mild dish soap handle 90% of what daily life throws at a soapstone surface. Reserve the baking soda poultice for genuine stains. Sand scratches when they bother you, not on a schedule. And oil the surface after every deep clean, not before. The stone will tell you when it needs more oil. It looks lighter and slightly dry. When you see that, you oil it. When you do not, you leave it alone.
Patience is the most underrated tool in soapstone care.
— High
Professional stone protection for lasting results
Soapstone’s natural resilience makes it one of the easier stones to maintain at home. For homeowners who want an added layer of confidence, Highlinestonecare offers advanced stone protection solutions built for natural surfaces.
The Opal Luxury Anti Acid Sealer from Highlinestonecare is a professional-grade product designed to protect natural stone surfaces from acid-related damage and staining. While soapstone’s dense composition makes it naturally resistant, other natural stone surfaces in your home benefit significantly from this level of protection. Highlinestonecare also offers expert stone restoration services for surfaces that need more than a DIY deep clean. Contact Highlinestonecare for a personalized consultation on your stone care needs.
FAQ
Is soapstone truly non-porous?
Soapstone meets the ASTM C615 non-porosity standard, requiring water absorption of no more than 0.4%. Its dense talc content makes it naturally water-repelling and resistant to staining without any sealer.
How often should you deep clean soapstone countertops?
Deep cleaning every 7–14 days is the recommended standard for high-traffic kitchen surfaces. Lower-use areas like bathroom vanities can go longer between full deep cleans.
Can you use vinegar to clean soapstone?
Vinegar strips the mineral oil finish from soapstone and should never be used. Stick to pH-neutral dish soap and warm water for safe, effective cleaning.
Does soapstone need to be sealed?
Soapstone does not need sealing. Mineral oil is cosmetic, not protective, and conventional stone sealers create a blotchy, tacky finish on soapstone’s dense surface.
How do you remove deep scratches from soapstone?
Sand the area with 220–400 grit wet/dry sandpaper using water as lubrication, then apply food-grade mineral oil to blend the repair. Scratches cannot be cleaned away and require this refinishing approach.
Recommended
- Soapstone Care & Maintenance NYC – Highline Stone Care
- Ways to Protect Stone Countertops: A Homeowner’s Guide
- How to Clean Bluestone: A Homeowner’s Guide
- Residential Stone Cleaning Tips for Every Home